最近有个群友提了一个挺有意思的问题,当使用 Glide 加载图片时,假如不设置 ImageView 的宽高,会出现显示不可控的情况。
什么意思呢?我们来复现一下他的情况。
这位群友为我们提供了一张表情包图片:

要不是我们是正儿八经的学术讨论群,可能这位群友已经被锤死了…
当然,这个表情包是使用一个 URL 提供的,实际上只是相当于模拟从后端获取图片时的场景,因为一般这种情况后端是不会特意将图片尺寸提供给我们的,其实你也可以将图片放在 Assets Folder 中,同样能够复现,但别放在 /res/drawable 或者 /res/mipmap 文件夹内,因为系统会根据屏幕分辨率对其进行缩放。
我先把这张图片下载下来,看一下它的实际尺寸:

可以看到这张图片的尺寸为 100 × 97 像素,并不大,我们在项目中实际加载看看。
首先随便写一个简单的布局用于加载这张图片:
<androidx.constraintlayout.widget.ConstraintLayout xmlns:android="http://schemas.android.com/apk/res/android"
    xmlns:app="http://schemas.android.com/apk/res-auto"
    xmlns:tools="http://schemas.android.com/tools"
    android:layout_width="match_parent"
    android:layout_height="match_parent"
    android:background="@android:color/background_dark"
    tools:context=".MainActivity">
    <ImageView
        android:id="@+id/image"
        android:layout_width="wrap_content"
        android:layout_height="wrap_content"
        app:layout_constraintBottom_toBottomOf="parent"
        app:layout_constraintLeft_toLeftOf="parent"
        app:layout_constraintRight_toRightOf="parent"
        app:layout_constraintTop_toTopOf="parent" />
</androidx.constraintlayout.widget.ConstraintLayout>
因为『Android Studio』新建项目时默认就采用了约束布局,那我这里就不做修改了,让 ImageView 置于屏幕的中央,因为群友提到不设置宽高,所以这里宽高我都定为 wrap_content,另外由于表情包是白底的,所以我给了一个深色的背景以更好的看出其显示边界。
为了对比,我要采用两种加载方式,一种是原生 API 的加载,另一种就是 Glide。
原生加载方式不复杂,通过 URL 获取流并将其解码为 Bitmap 即可:
public class MainActivity extends AppCompatActivity {

    String url = "http://wx4.sinaimg.cn/bmiddle/b64da6adly1gjbwvv4es7j202s02p0sk.jpg";

    @Override
    protected void onCreate(Bundle savedInstanceState) {
        ...
        final ImageView imageView = findViewById(R.id.sticker);
        new Thread(() -> {
            try {
                final Bitmap bitmap = BitmapFactory.decodeStream(new URL(url).openStream());
                runOnUiThread(() -> imageView.setImageBitmap(bitmap));
            } catch (IOException e) {
                e.printStackTrace();
            }
        }).start();
    }
}
需要注意的是由于我们是加载网络图片,尽管我们并没有显式的写出网络请求的代码,它实际上是做了网络请求的,所以我们不能在主线程中执行,而将图片加载到 ImageView 时是 UI 操作,又需要切回到主线程。
Glide 的加载方式更加简单,之前『一次实战爱上「Glide」』一文也做了详细的介绍,而且因为 Glide 内部已经帮我们做了处理,所以我们不再需要关心线程的问题了,一行代码搞定:
public class MainActivity extends AppCompatActivity {

    String url = "http://wx4.sinaimg.cn/bmiddle/b64da6adly1gjbwvv4es7j202s02p0sk.jpg";

    @Override
    protected void onCreate(Bundle savedInstanceState) {
        ...
        final ImageView imageView = findViewById(R.id.sticker);
        Glide.with(this).load(url).into(imageView);
    }
}
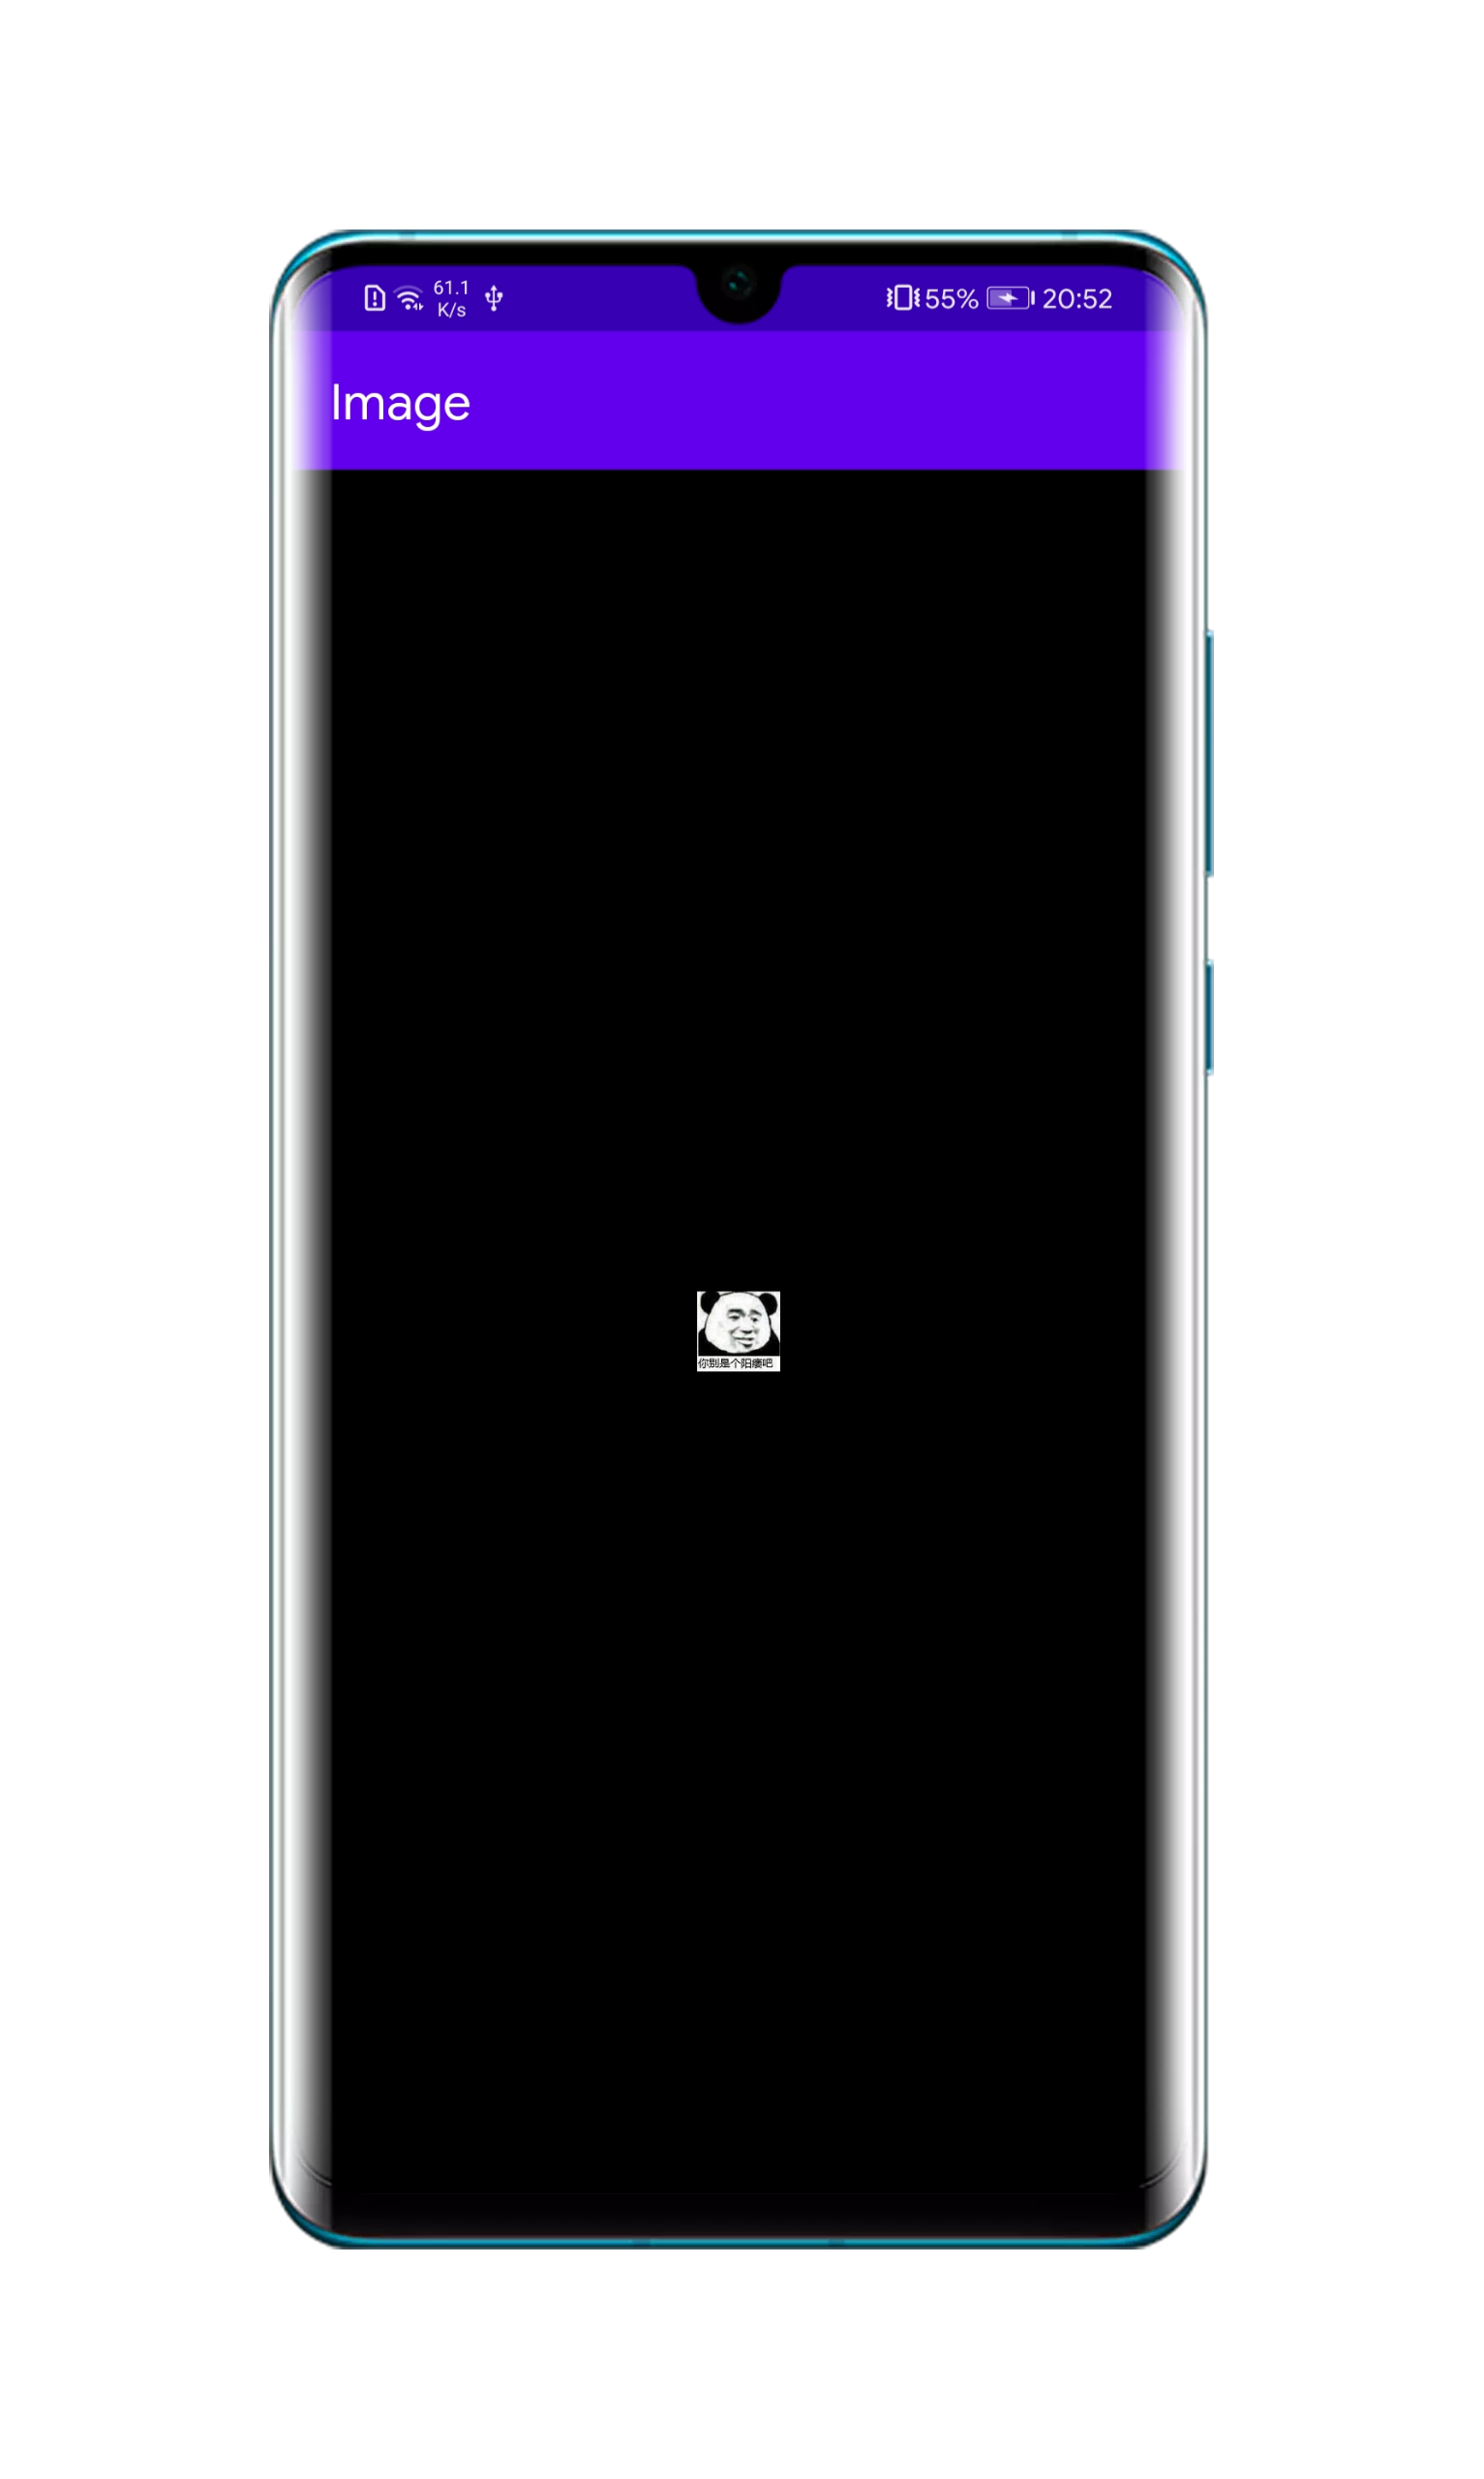
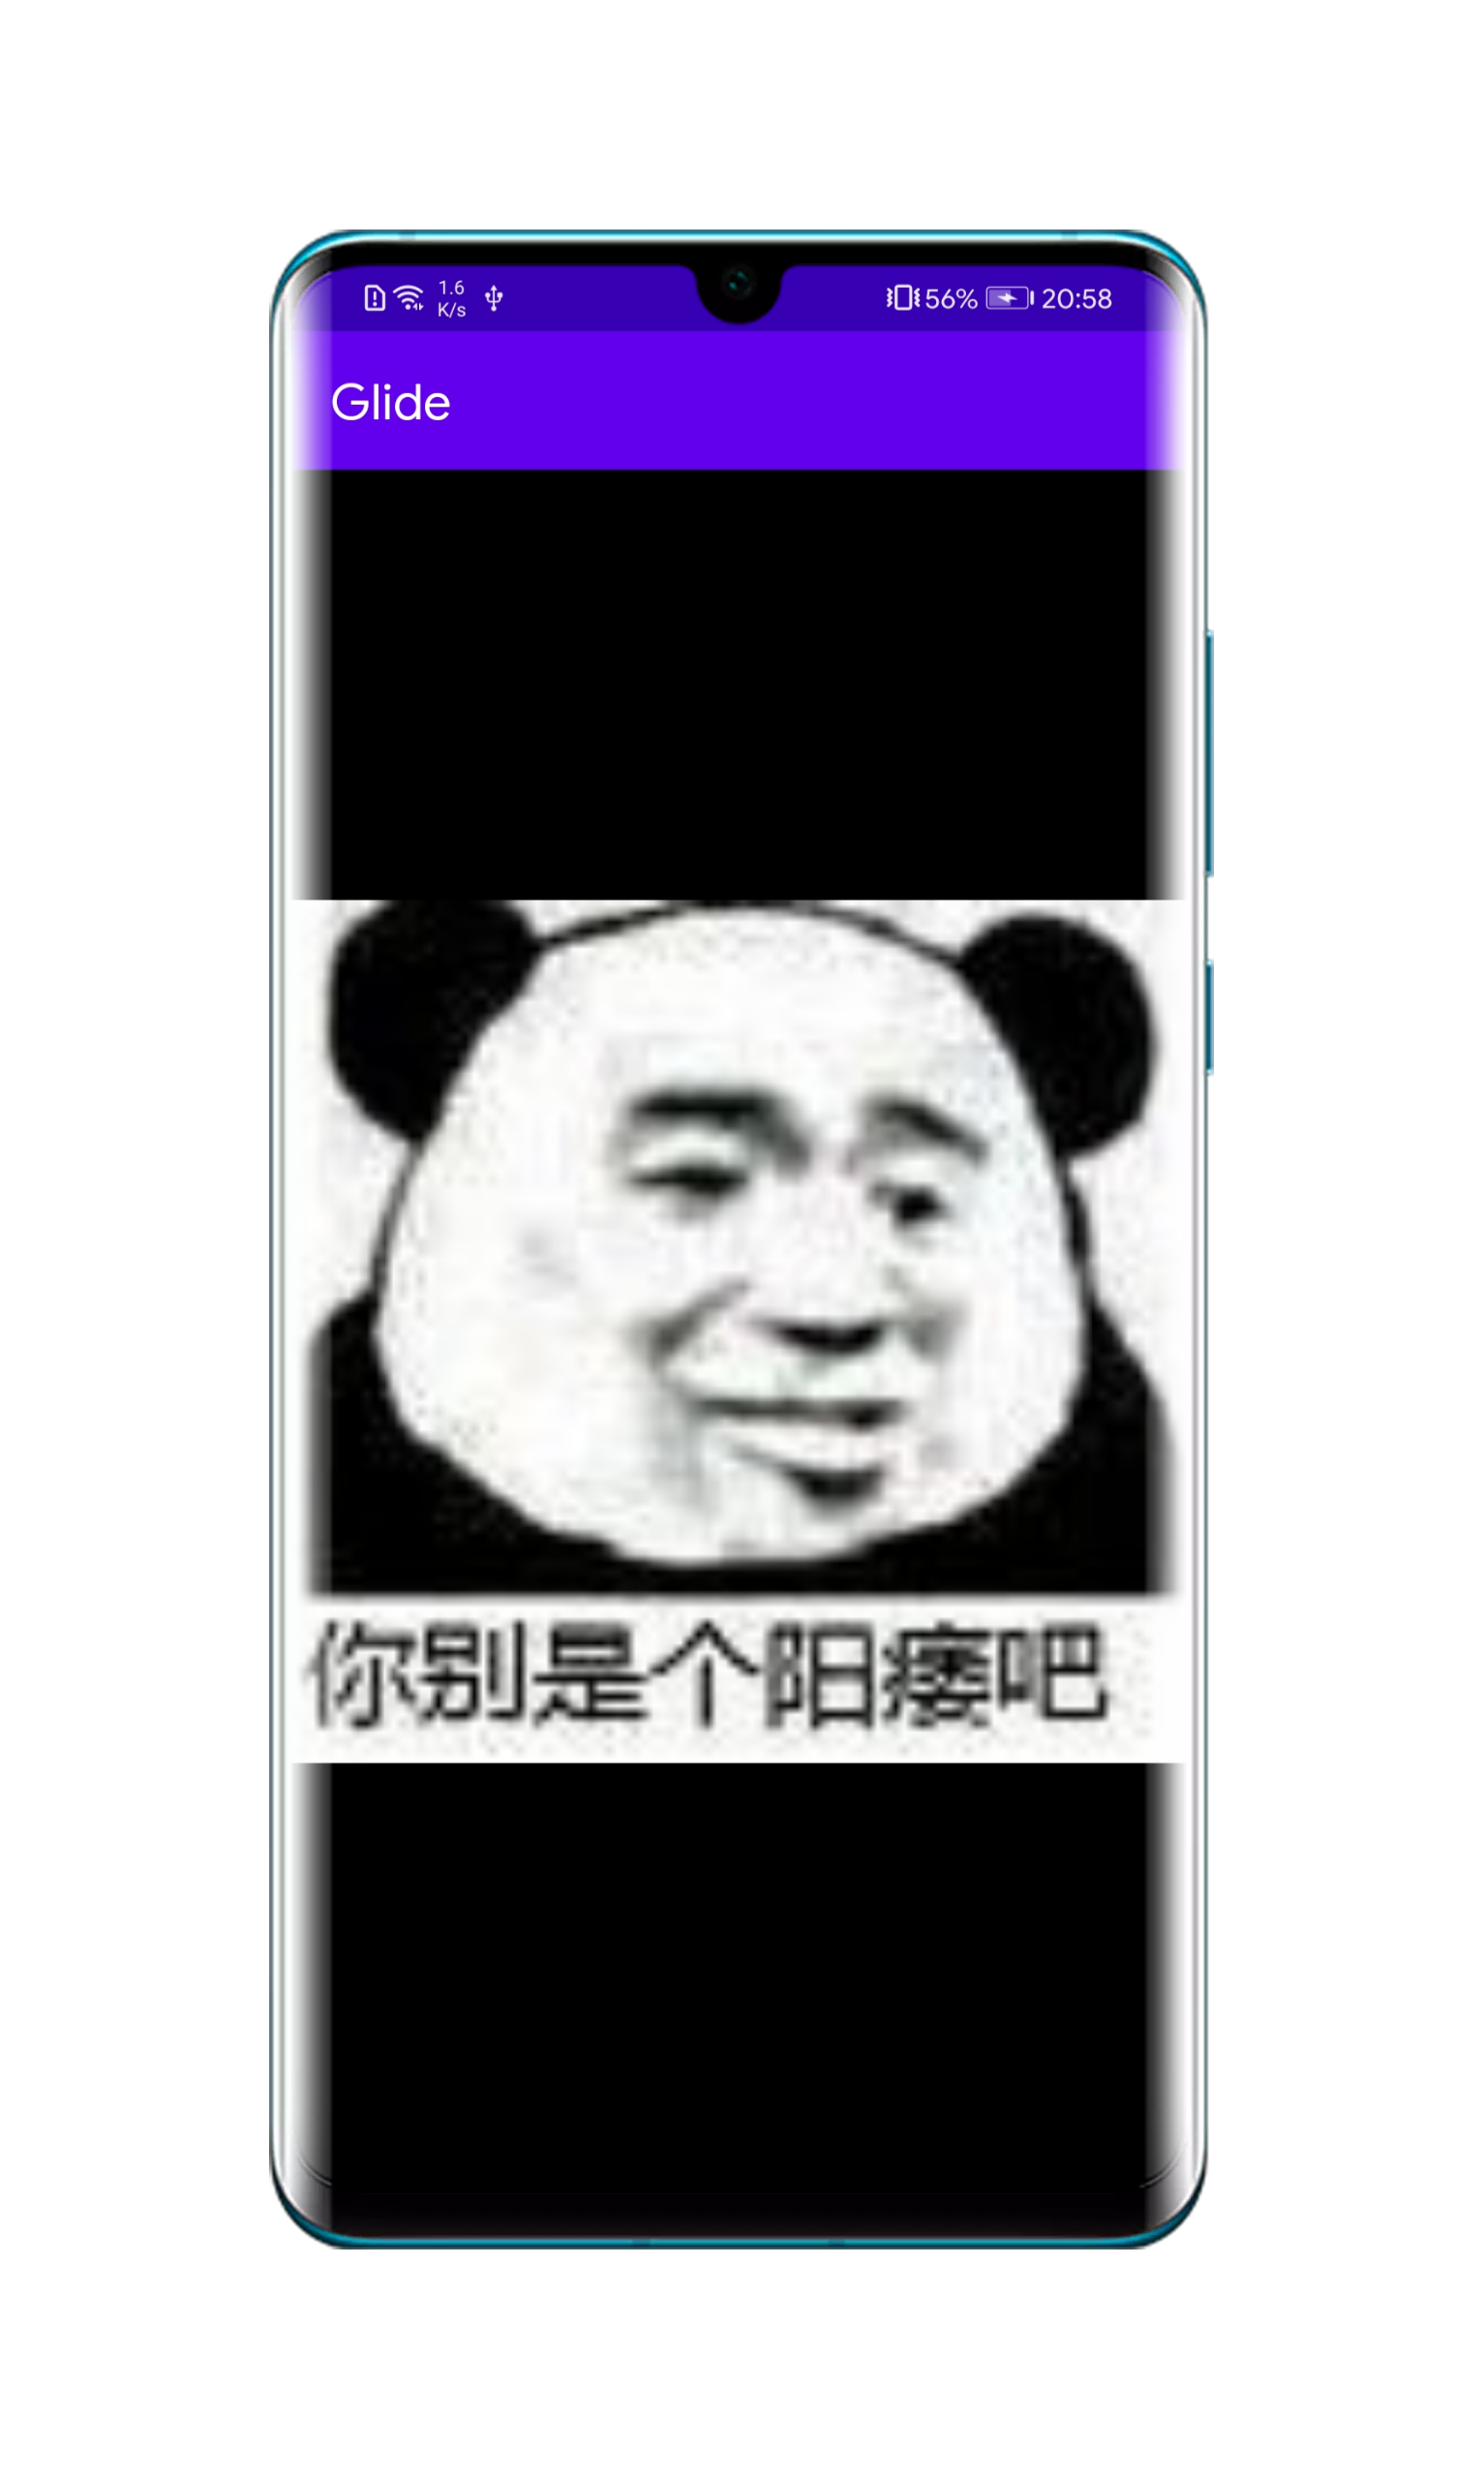
结果的确如群友所说,Glide 加载的图片显示的并不是实际尺寸:
| 图片实际大小 | Glide 加载出来的大小 |
 |
 |
我们监听一下 Glide 加载出来的尺寸:
Glide.with(this)
        .asBitmap()
        .load(url)
        .listener(new RequestListener<Bitmap>() {
            @Override
            public boolean onLoadFailed(@Nullable GlideException e, Object model, Target<Bitmap> target, boolean isFirstResource) {
                return false;
            }
            @Override
            public boolean onResourceReady(Bitmap resource, Object model, Target<Bitmap> target, DataSource dataSource, boolean isFirstResource) {
                int width = resource.getWidth();
                int height = resource.getHeight();
                Log.d(TAG, "Width: " + width);
                Log.d(TAG, "Height: " + height);
                return false;
            }
        })
        .into(imageView);
好家伙,加载的尺寸为 2139 × 2075 像素,这明显不对劲呀。其实这并不是图片的尺寸大小,而是加载图片后的 ImageView 的大小,也就是图片显示时的大小。
那我们能否获取到图片的实际尺寸呢?
当然可以。
Glide.with(this)
        .asBitmap()
        .load(url)
        .into(new SimpleTarget<Bitmap>() {
            @Override
            public void onResourceReady(@NonNull Bitmap resource, @Nullable Transition<? super Bitmap> transition) {
                int realWidth = resource.getWidth();
                int realHeight = resource.getHeight();
                Log.d(TAG, "Real Width: " + realWidth);
                Log.d(TAG, "Real Height: " + realHeight);
            }
        });
这里获取到的尺寸就是实际的 100 × 97 像素了。
然后你可能会发现,这个获取实际尺寸的方法是在 into() 里面的,那没有把 ImageView 实例传进去,它不能够加载我们的图片啊。
其实我们只需要用回最原始的方法即可:
Glide.with(this)
        .asBitmap()
        .load(url)
        .into(new SimpleTarget<Bitmap>() {
            @Override
            public void onResourceReady(@NonNull Bitmap resource, @Nullable Transition<? super Bitmap> transition) {
                imageView.setImageBitmap(resource);
            }
        });
当然你不嫌麻烦的话也可以用 Glide 重新加载一遍:
Glide.with(this)
        .asBitmap()
        .load(url)
        .into(new SimpleTarget<Bitmap>() {
            @Override
            public void onResourceReady(@NonNull Bitmap resource, @Nullable Transition<? super Bitmap> transition) {
                Glide.with(imageView)
                        .load(resource)
                        .override(resource.getWidth(), resource.getHeight())
                        .into(imageView);
            }
        });
说实话这种应用场景我至今还没有遇到过,总感觉 ImageView 不确定尺寸的话很容易会产生屏幕适配问题。
但转念一想,在微信聊天界面的表情包似乎是可以根据图片尺寸显示的,应该存在一个阈值,当表情包的尺寸大于等于这个阈值时,按照这个阈值缩放显示,当表情包的尺寸小于这个阈值时,就按照实际大小显示。
由于上面的场景我们只处理了小图加载的问题,因此上面的方法不能够直接应用到项目中,否则加载大图的时候也会产生不可控,更甚的是大图还容易造成 OOM。
而另一种场景,一些 App 有省流模式的功能,可以只显示文字而不加载图片,但是其显示的占位图和实际图片的宽高是一致的,这种就不能使用上面的方法来处理了,因为使用了上面的方法就会去请求图片,也就达不到省流的目的,理论上应由后端将图片的尺寸返回,再由客户端生成占位图。
